How to Sharpen a Japanese Knife: 5 Whetstone Basics
Affiliate disclosure: As an Amazon Associate I earn from qualifying purchases. This article contains affiliate links; purchases may earn a commission at no extra cost to you.
The Knife You Bought Deserves Better Than This
If you followed my guide to Japanese kitchen knives and picked up a Tojiro, a MAC, or something further up the lineup, there’s a decent chance it’s now sitting in a drawer getting duller every week, waiting for you to “figure out the whole sharpening thing eventually.” I get it — whetstones look intimidating, YouTube tutorials move too fast, and the fear of ruining an expensive blade is real.
Here’s the reassuring part: caring for a Japanese knife properly is less about mastering some ancient art and more about avoiding a handful of specific mistakes, plus learning one genuinely simple skill. In my experience, most people who say they’re “bad at sharpening” have just never had someone walk them through it slowly, without the assumption that they already know what a “20-degree angle” feels like.
This guide covers the daily habits that matter more than sharpening itself, then walks through actual whetstone technique in a way that doesn’t assume prior experience.
The Habits That Matter More Than Sharpening
Before we get to whetstones, it’s worth being blunt: how you treat the knife day-to-day affects its edge far more than how often you sharpen it. A knife that’s cared for properly might only need real sharpening every few months. One that’s mistreated daily will feel dull within a week no matter how good your technique is.
1. Hand-wash and dry immediately
This is the single most important habit, and it’s the one people skip most often. Leaving a knife wet in a sink, or worse, running it through a dishwasher, exposes the blade to prolonged moisture and harsh detergents that dull the edge and can damage the handle. Wash it right after use, dry it with a towel immediately, and put it away.
2. Use the right cutting surface
Glass, stone, and marble cutting boards might look nice, but they’re genuinely one of the fastest ways to ruin a sharp edge — you’re essentially dragging steel across a surface harder than the steel itself every time you cut. Wood and soft plastic boards flex slightly and protect the edge. If you’re deciding what to cut on, my guide to cutting boards for Japanese knives goes deeper into which materials actually make a difference.
3. Use a honing rod between real sharpenings (carefully)
A honing rod doesn’t sharpen a knife — it realigns the microscopic edge that bends out of place with regular use. For harder Japanese steels, use a ceramic honing rod rather than the ridged steel rods sold with Western knife sets, which can chip a harder, thinner edge. A few light passes before cooking, done gently, keeps the edge performing well between actual sharpenings.
4. Store it so the edge doesn’t touch anything
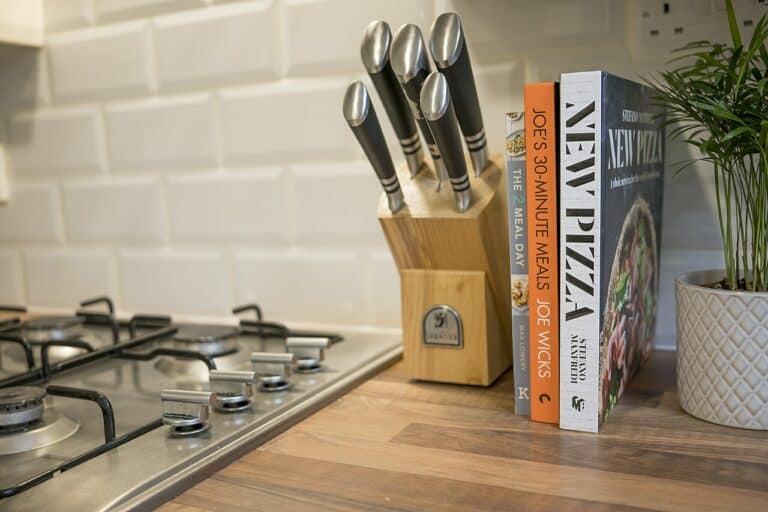
Tossing a knife loose in a drawer with other utensils is a fast way to dull — or chip — an edge through constant, tiny collisions. A knife block, a magnetic strip, or even a simple blade guard solves this for very little money.
Whetstone Sharpening: The Actual Skill Worth Learning
Once the daily habits are in place, sharpening becomes something you do occasionally rather than something you’re constantly fighting against. (If you want a second reference alongside this guide, America’s Test Kitchen has a solid rundown of the same fundamentals.) Here’s how to actually do it.
Here’s what you actually need to know about how to sharpen a Japanese knife at home.
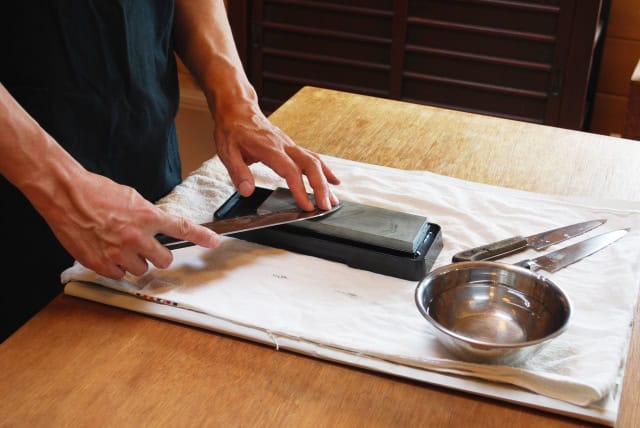
What You Need
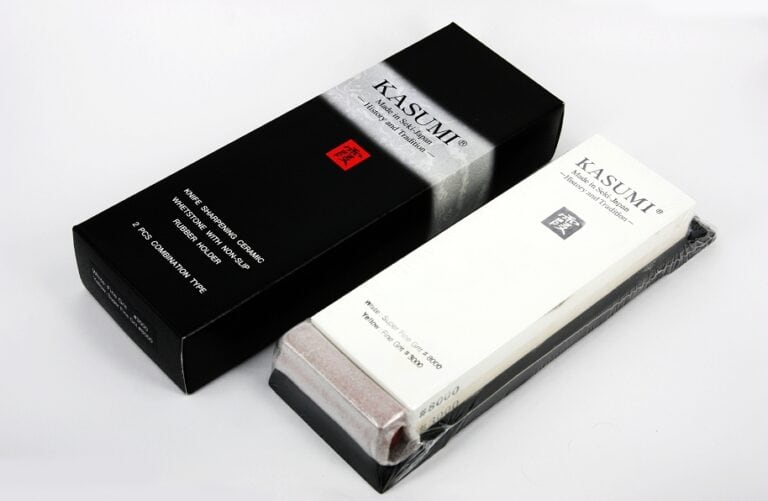
- A whetstone — a combination stone with a coarser grit (around 1000) on one side and a finer grit (around 3000–6000) on the other covers most home sharpening needs
- A small container of water — most whetstones need to be soaked for 10–15 minutes before use (check your specific stone’s instructions, since some ceramic stones only need a splash)
- A non-slip surface — a damp towel underneath the stone, or a stone holder, so it doesn’t shift while you’re working
The Basic Technique
- Soak the stone if required, until it stops producing bubbles
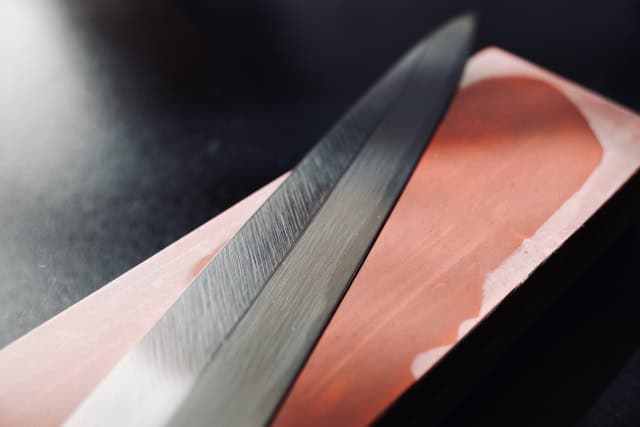
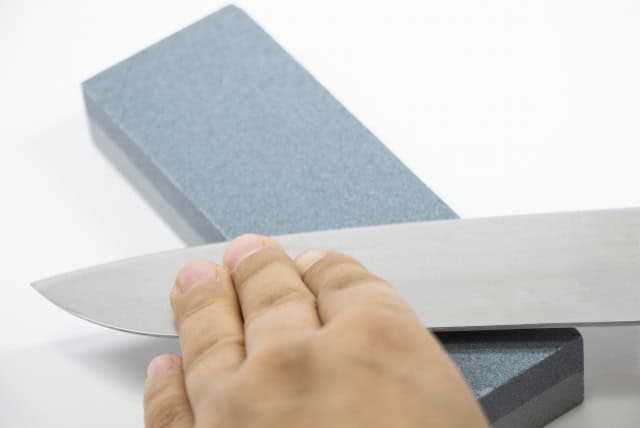
- Find your angle. For most Japanese single-bevel-leaning knives, aim for roughly 15 degrees between the blade and the stone — noticeably shallower than the 20-degree angle common with Western knives. A simple trick: rest the blade flat on the stone, then lift the spine until you can just slide a couple of stacked coins underneath the edge — that gap is roughly your working angle.
- Start on the coarser side if the blade is genuinely dull, or skip straight to the finer side for routine maintenance
- Push the blade away from you in smooth strokes, maintaining consistent angle and light, even pressure — let the stone do the work rather than pressing hard
- Work in sections along the length of the blade, keeping count of strokes per section so you sharpen evenly (10–15 strokes per section is a reasonable starting point)
- Feel for a burr — a tiny rough edge that forms on the opposite side of the blade — before switching to the other side. This burr tells you you’ve sharpened enough on that side
- Repeat on the other side, then finish with light, alternating strokes on both sides to remove the burr
- Rinse and dry the blade thoroughly before use or storage
In my experience, the biggest beginner mistake isn’t bad technique — it’s impatience. Rushing through with heavy pressure and inconsistent angle does more harm than slow, light, consistent strokes. The first few times will feel awkward. That’s normal, and it gets noticeably easier by the third or fourth attempt.
How Often You Actually Need to Do This
For a home cook using their knife most days, a proper whetstone sharpening every 2–4 months is plenty, assuming the daily habits above are in place. Signs it’s time: the knife struggles to slice through a tomato’s skin without pressing hard, or it feels like it’s tearing rather than slicing through softer foods.
What to Avoid
- Electric knife sharpeners designed for Western knives — these are usually set to a steeper angle and can remove far more material than necessary, or damage the thinner edge of a Japanese blade
- Sharpening at an inconsistent angle — this is the most common cause of a poor result, and it’s worth going slowly rather than fast and sloppy
- Skipping the burr check — sharpening past the point of forming a burr just wastes material and stone life without improving the edge
When to Just Get It Professionally Sharpened
There’s no shame in this, especially early on. A professional sharpening service costs relatively little and gives you a reference point for what a properly sharpened edge should feel like — something that’s genuinely hard to learn from text or video alone. I’d suggest getting your knife professionally sharpened once, paying close attention to how the resulting edge feels and cuts, and using that as your benchmark while you practice the whetstone technique yourself.
Choose the Stone and Board for Your Knife
For equipment choices, use the beginner whetstone grit guide and the cutting board comparison. If you are unsure what the blade specification means, Japanese knife steel explained separates material names from finished-knife performance.
Conclusion
Knowing how to sharpen Japanese knife properly is less about mastering some ancient art and more about avoiding a handful of specific mistakes. The daily habits — hand-washing, the right cutting surface, proper storage — do more heavy lifting than most people expect, and they cost nothing beyond a bit of discipline. Whetstone sharpening itself is a genuinely learnable skill, not a mysterious art, and it gets easier with repetition far faster than the intimidating YouTube tutorials suggest. In my experience, the knife that gets cared for properly ends up performing better a year in than an unmaintained knife that cost twice as much.
If you haven’t picked out your first Japanese knife yet, my comparison guide is the place to start before any of this becomes relevant.