How to Choose a Whetstone: A Grit Guide for Beginners
Affiliate disclosure: As an Amazon Associate I earn from qualifying purchases. This article contains affiliate links; purchases may earn a commission at no extra cost to you.
For an ordinary double-bevel steel kitchen knife with a dull but undamaged edge, start by comparing medium water stones around #1000–#1500. Add a coarse stone when you have a repair job, and a fine stone when you can already produce a useful edge. Grit is only one part of how to choose a whetstone: wetting instructions, working area, a stable base and a way to keep the surface flat matter too.
This is a buying guide based on manufacturer guidance and practical selection criteria, not a hands-on comparison of every stone. Ceramic blades, serrations and specialist single-bevel knives need advice specific to their construction.
Choose the job before the grit
| Your situation | Starting point to compare | What to check before buying |
|---|---|---|
| An intact edge that no longer cuts cleanly | Medium stone, roughly #1000–#1500 | Knife compatibility, usable dimensions and wetting instructions |
| A very dull edge or a repair task | Coarser stone, followed by a medium stone | How much metal must be removed; significant chips may merit professional repair |
| A sharp edge that you want to refine | A finishing stone, commonly #3000–#6000 | Whether the finer finish improves the cutting task you actually do |
| A first purchase with a limited budget | One suitable medium stone and stable support | Allow for flattening and storage before paying for extra grits |
These bands are selection shortcuts, not universal boundaries. Stones with the same printed grit can feel and cut differently. Do not assume a #6000 stone is six times better than a #1000, or that it can efficiently replace the earlier sharpening stage.
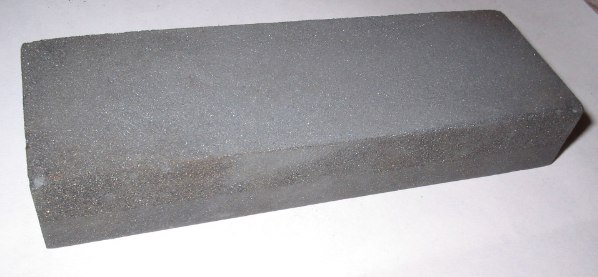
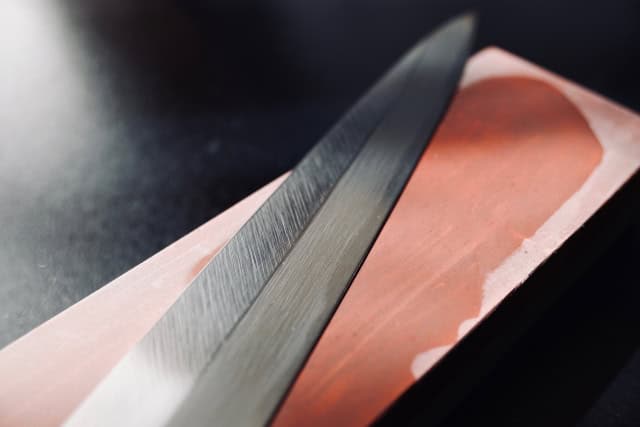
Photo: Richard Frantz Jr. (RJFJR) / Wikimedia Commons · Public domain. Resized/compressed; no content edits.
Single stone or combination stone?
A single medium stone keeps the first decision simple. You can learn to hold an angle, work along the edge and remove the burr before introducing another surface. A combination stone gives you two grits in one item, but you should still compare the thickness of each layer, the working area and the maker’s care instructions.
A #1000/#6000 combination is one possible progression, not a requirement for every kitchen. If you mainly want an ordinary chef’s knife to cut vegetables cleanly, spend time evaluating the medium-grit result before assuming you need a polished finish. A three-stone set makes more sense when you have identified separate repair, sharpening and finishing tasks.
A specific option: Shapton Kuromaku #1000
The linked orange #1000 is a medium stone, not a combination stone. There is also a useful nuance in Shapton’s own FAQ: it recommends its #1000 and #5000 as a pair for household knives, but names #1500 when using only one stone. That means #1000 is an option to compare, not the manufacturer’s only first-stone recommendation.
Soaking, support and drying
Read the instructions for the exact model. “Water stone” does not mean every stone should sit in a bucket before each use. Shapton says its stones normally need no soaking, while recommending five to six minutes before first use; it warns against soaking longer than 30 minutes and against rapid drying. These instructions should not be generalized to another brand.
- Check that the support holds the stone securely on your work surface. A storage case is not automatically a suitable holder for every sharpening position.
- Compare the actual length and width with your knife and available workspace. A smaller item may be a travel stone rather than the bench stone you intended to buy.
- Keep the surface flat using a compatible method. A dished surface changes the contact between knife and abrasive.
- Rinse away debris and follow the manufacturer’s drying and storage instructions; do not improvise with a dishwasher or heater.
Three questions before checkout
Is the edge damaged? If not, a repair stone may be an unnecessary first expense. Does the kit include support? Check the contents rather than the photo. Can you maintain the stone? Include compatible flattening equipment in the longer-term budget.
Next: match the stone to your knife
Use the Japanese knife sharpening guide for the technique, then check knife steel and care requirements and cutting-board options. Choose a stone for the edge you have today, then add equipment when a specific limitation becomes clear.